About
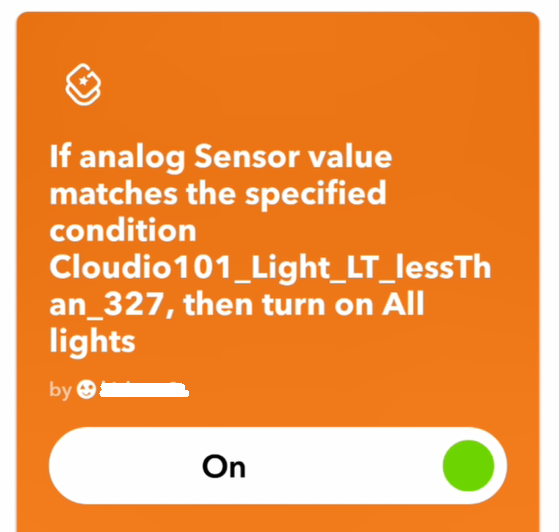
This project uses an IFTTT applet which uses GraspIO as a Trigger and Philips Hue as the Action to turn on the Philips Hue light when the ambient light level (detected by Cloudio) drops below a specified value.
What you’ll need:
- Cloudio & Raspberry Pi setup
- Philips Hue lights
Accounts/ software/applications
- GraspIO Studio mobile app
- An IFTTT account
- Philips Hue account on IFTTT
- GraspIO account on IFTTT
How this works
This project uses an IFTTT applets as described below -
IFTTT Trigger – Cloudio's Light sensor's reading drops below specified value (here, 327)
IFTTT Action – Philips Hue lights turn on
The 2 main steps here are -
Step 1: Configuring Cloudio to run as an IFTTT Trigger
This involves creating a project that uses the IFTTT block in Trigger mode, and
- setting the levels (of the light sensor's readings) for the trigger to fire
- uploading this IFTTT (Trigger) project to your board.
Step 2: Creating and deploying the IFTTT applet(s)
This step creates an IFTTT applet that uses
- GraspIO (Trigger when Analog sensor fires) as the Trigger
- Philips Hue (configured to turn on when invoked) as the Action
How-to Video
Steps
Step 1: Creating the IFTTT (Trigger) project
- Use an IFTTT block in Trigger mode
- Select the sensor for the trigger, here LT sensor
- Select the light value for this trigger to fire at
(Use the Read function to set the appropriate trigger value while modifying the received light readings by changing the light settings near the LT sensor)
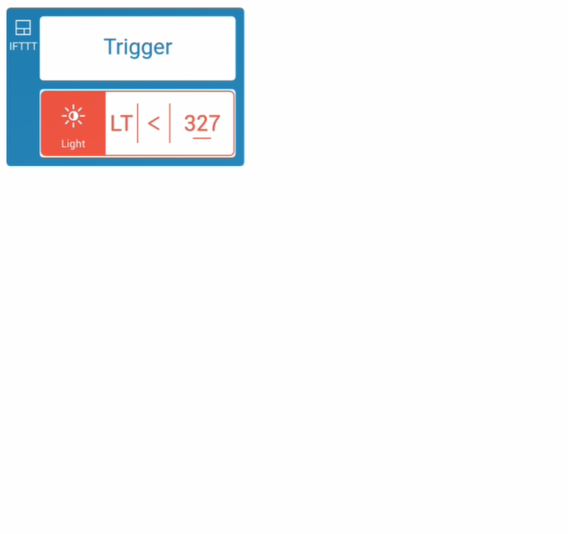
Upload this project to Cloudio.
Your Cloudio is now configured to work as a trigger for the applet created in the next step.
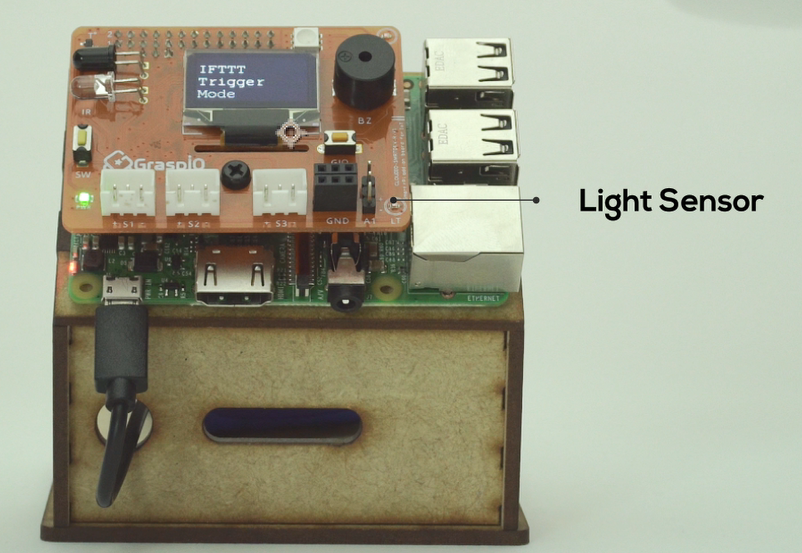
Step 2: Creating the Gmail-GraspIO applet on IFTTT
On IFTTT, create a new applet.
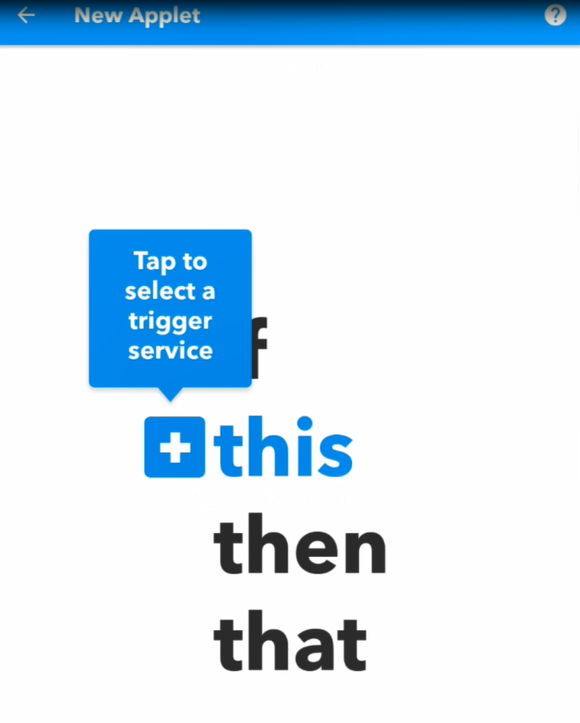
For the 'this' (Trigger), section, select GraspIO.
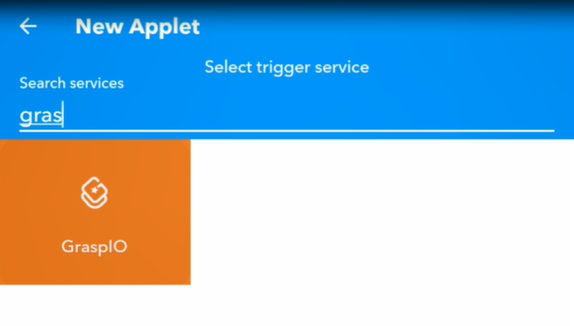
Select the trigger type from the list
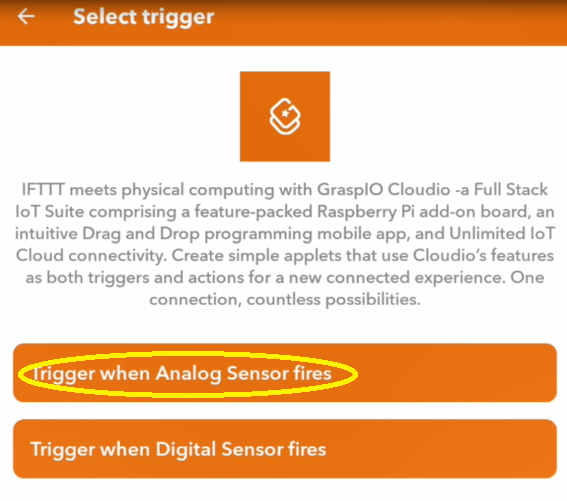
Here, 'Trigger when Analog sensor fires' is selected as this project uses an analog sensor (Light) as the trigger.
To select the actual trigger, from the drop-down menu, select the entry corresponding to the trigger created in Step 1 (Light sensor's reading less than 327 on the board Cloudio 101).
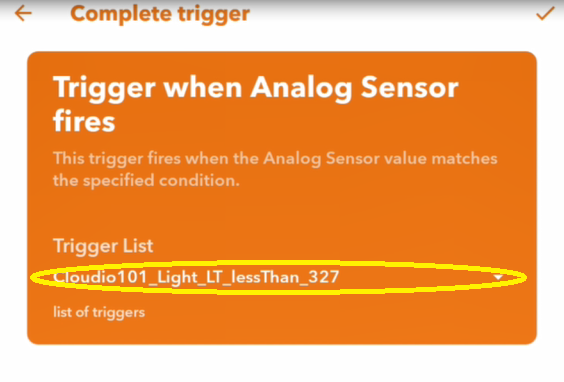
(Note: This entries in this selection represents - Boardname_Sensor_Port_ConditionalOperator_TriggerValue)
For the 'then' section of the applet, select Philips Hue.
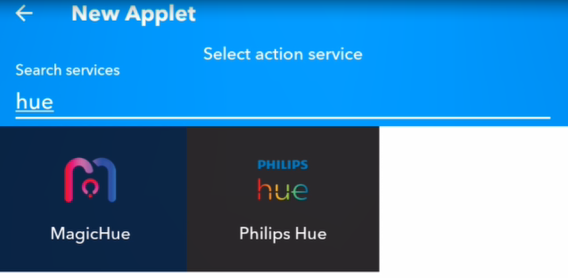
Select the settings for the Philips Hue lights.
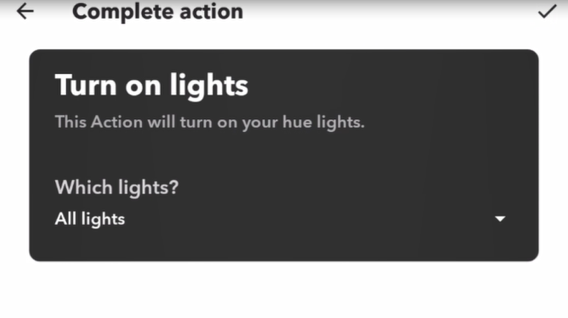
Your applet is now ready. Press Finish to run this applet.
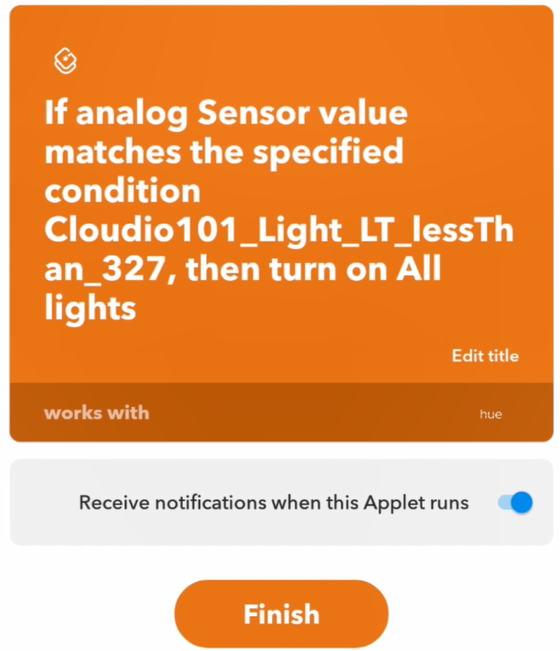
Running the project
After the appletis deployed, the Philips Hue lights turn on when the ambient light level detected by Cloudio drops below the specified value (here, 327).