About:
This project highlights the features of GraspIO Studio, some ideas, useful tips and tricks that will help creating your own projects faster and simpler.
How-to Video:
Notes:
The main highlights of this video (in the order they occur in the video are explained below).
1. Stop function
Once a project is uploaded to a board, the Stop function in the toolbar serves as a remote way to stop the project running on the board.
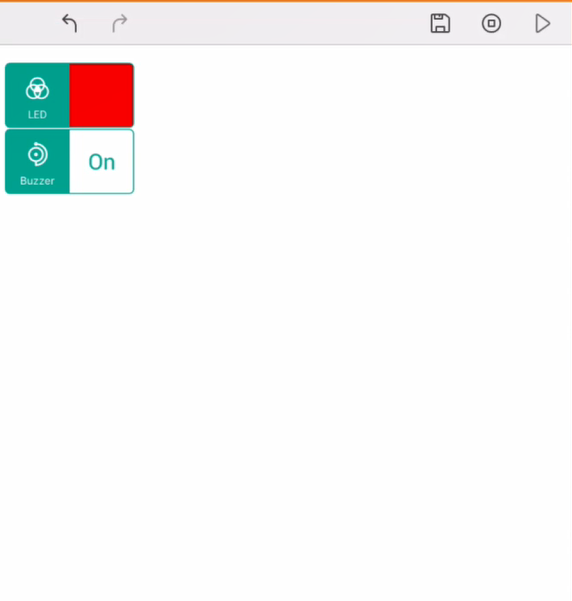
In this example, the first 2 blocks (shown below), turn the LED and buzzer on. The LED and buzzer remain on till they are turned off using another instance of the same blocks.
The Stop button is being used to turn them off if/when needed.

2. Loop block
Besides using this block as a Looping/ Repetition function, the Loop block is the best way to run a block's code/function in your project for the entire run-time of the project.
(from the time the project is uploaded, to the time it is overwritten by another project, or stopped by using the Stop button on the app, or by powering off the board)
Set the Looping parameter to ∞ and this ensures that the blocks in the body of the Loop block run for the entire time that the project is running on the board.
3. Delay block
While using blocks such as the OLED, LED, or Buzzer, you could introduce a delay between consecutive blocks so that their state changes are visible and discernible when the project runs on the board.
4. Undo & Redo
Undo or redo the previous action using the Undo and Redo buttons on the Project Toolbar.
5. Multiple block selection
Long-press a block to select it. Short-press/tap other blocks to add them to the selection. You can also use the Select All option on the Edit Toolbar enabled when a block is selected.
6. Project saving
Use a Project Icon of your choice while saving a project. This is a good way for you to categorise projects based on their applications.
7. Project upload
Upload a project from the a project's Code Area or alternatively, you could upload a project from the Projects screen of the app.
8. Copy and paste
Besides using this functionality within a project, you can copy and paste blocks across projects.
Just select the blocks and press Copy from the source project, and create/edit your destination project using the Paste function.
9. Voice block
What makes the Voice block special is its ability to be used as a Remote function from the GraspIO Studio app.
To set a voice trigger, you'll need to press and hold the Record icon while uttering the trigger phrase.
In this video, the Voice block is used with the trigger phrase "rock and roll" is used to display different colors on the LED.
A few other interesting ideas and applications for the Voice block are described below -
- Let's say you want to query the board for a sensor value at a particular instance, you could create a project that uses a Voice block with an appropriate trigger phrase, say, 'Light value update', and use the Notify blocks like Speak or OLED to notify you of the Sensor values.
Once this project is uploaded to the board, you can use GraspIO Studio on your mobile device to give a voice command, and Cloudio will update you with the sensor value via audio/ its OLED display/ email (based on how you have designed your project).
In another application, you can remotely use a voice command 'Click a picture' on your GraspIO Studio app to make Cloudio click a picture in response to this command.
(You'll need a USB camera/Raspberry Pi connected to the Cloudio - Raspberry Pi setup for this)
In your project, use a Voice block that houses a Camera block inside it.
Once this project is uploaded, whenever you say "Click a picture" on your smartphone, Cloud will send you an email with the image it just captured.