About:
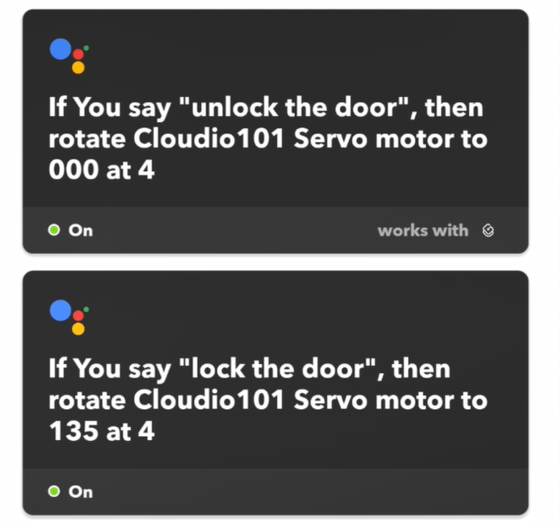
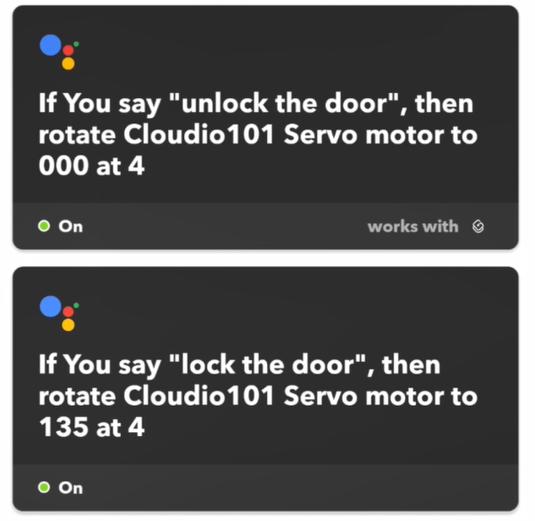
In this project, you will create IFTTT applets that uses Google Assistant as a Trigger and GraspIO as the Action to lock and unlock a door controlled by a Servo motor connected to Cloudio.
What you’ll need:
- Cloudio & Raspberry Pi
- A Servo motor for the door-lock setup
Accounts/ software/applications
- GraspIO Studio mobile app
- An IFTTT account
- Google account on IFTTT
- GraspIO account on IFTTT
Hardware and setup:
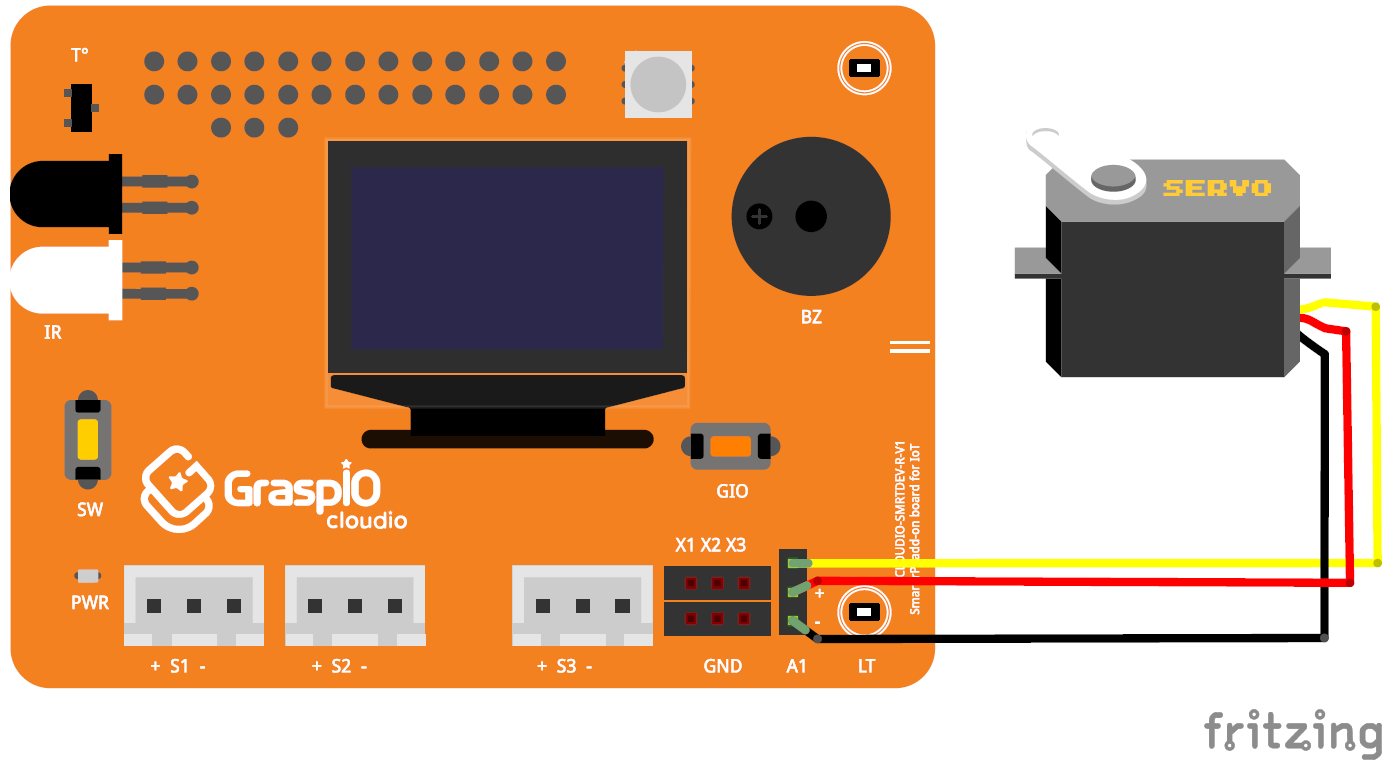
To design the door-lock setup, you can use the below image for reference.

(Note: For this design, turning the Servo motor to 135 degrees locks the door, and turning it back to 0 degree unlocks it)
Connect the Servo motor controlling the lock to Cloudio's port A1 as shown.
How this works
This project uses 2 IFTTT applets that combine the functionalities of Google Assistant and GraspIO Cloudio to lock and unlock a door (controlled by ).
IFTTT Trigger – the phrase “Lock the door” or " Unlock the door" used with Google Assistant on your mobile device
IFTTT Action – Cloudio locks and unlocks the door based on the command given to Google Assistant
The 2 main steps here are -
Step 1: Configuring Cloudio to run as an IFTTT Action
This involves uploading an IFTTT (Action) project to your board.
Step 2: Creating and deploying the IFTTT applet(s)
This step creates an IFTTT applet that uses
- Google Assistant (configured according to respond to a phrase of your choice) as the Trigger
- GraspIO Cloudio (configured to control the Servo motor) as the Action
How-to Video:
Steps:
Step 1: Configuring Cloudio to work as an IFTTT Action
For this, create a project with an IFTTT block set to Action mode.
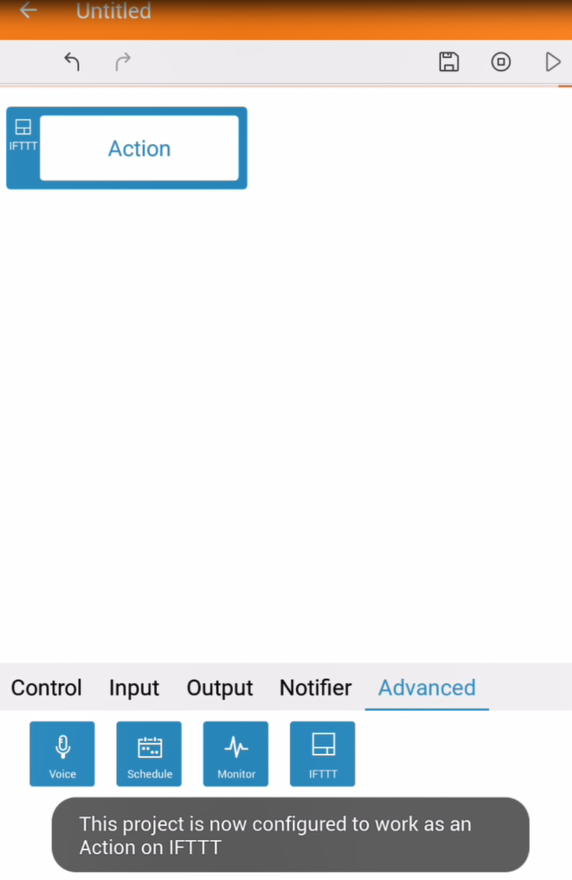
Upload this project to Cloudio.
Your Cloudio is now ready to run the Door-lock project when invoked by the applet you create in the next step.
Step 2: Creating the Google Assistant-GraspIO applet on IFTTT for the 'locking' action.
On IFTTT, create a new applet.
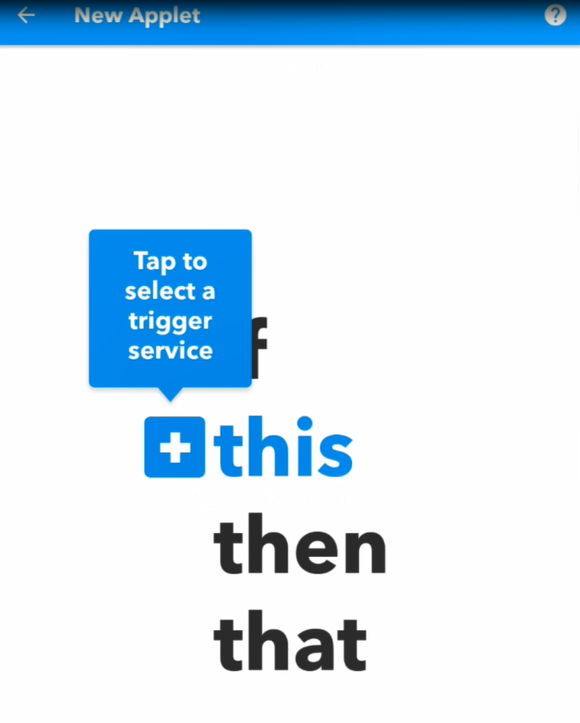
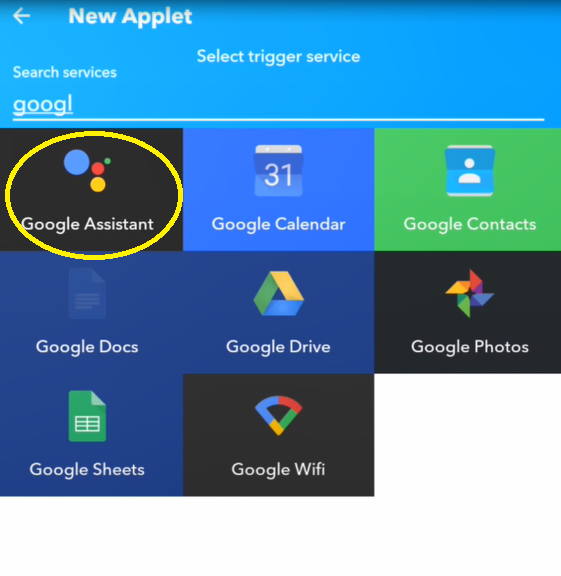
For the this(Trigger), section, select Google Assistant
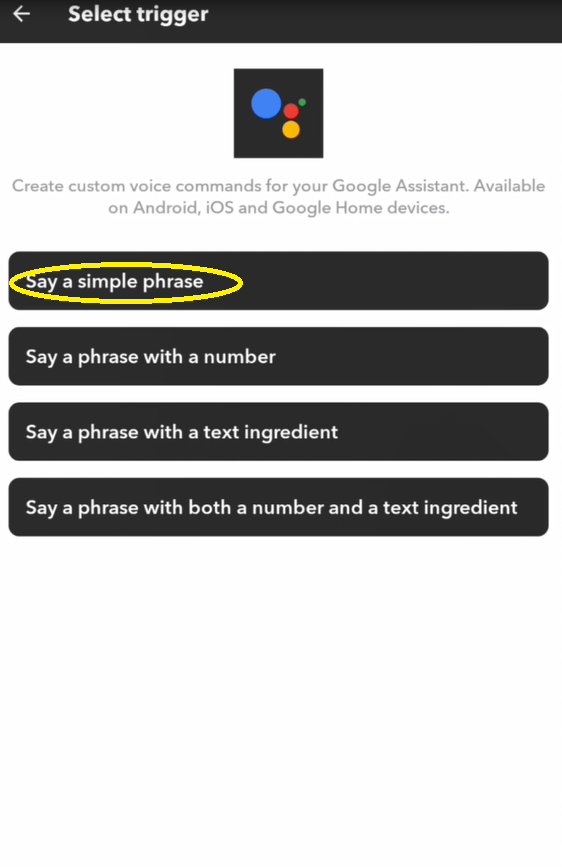
Select the trigger type from the list - here, 'Say a simple phrase'.
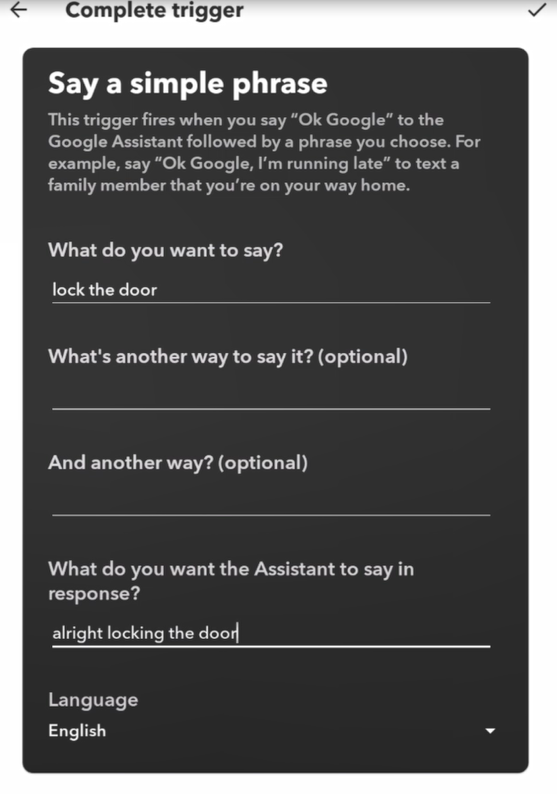
Set the trigger phrase
Now, to set the 'that' (Action) part of the applet.
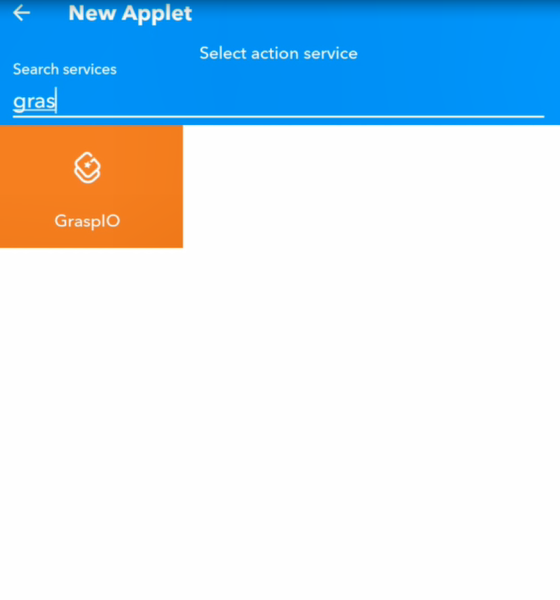
For the 'then' section, select GraspIO.
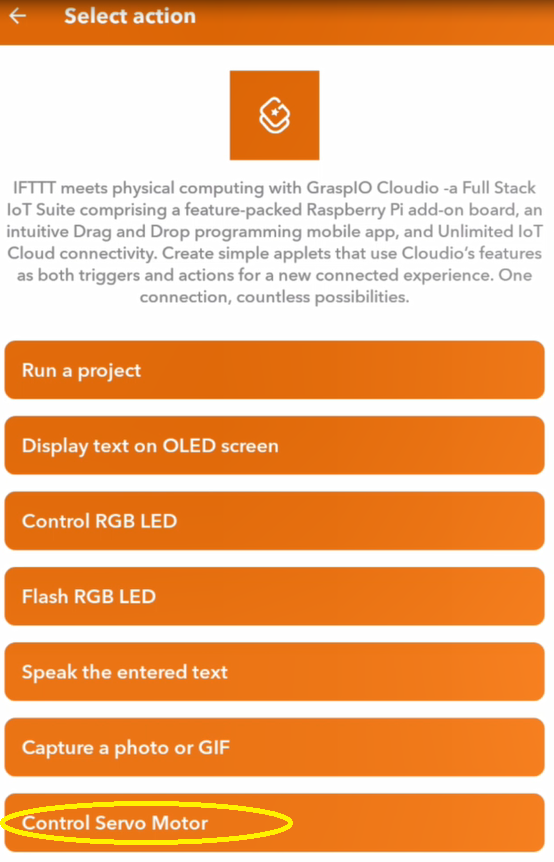
Now, select the 'Control Servo motor' action so you can rotate the Servo motor to lock the door.
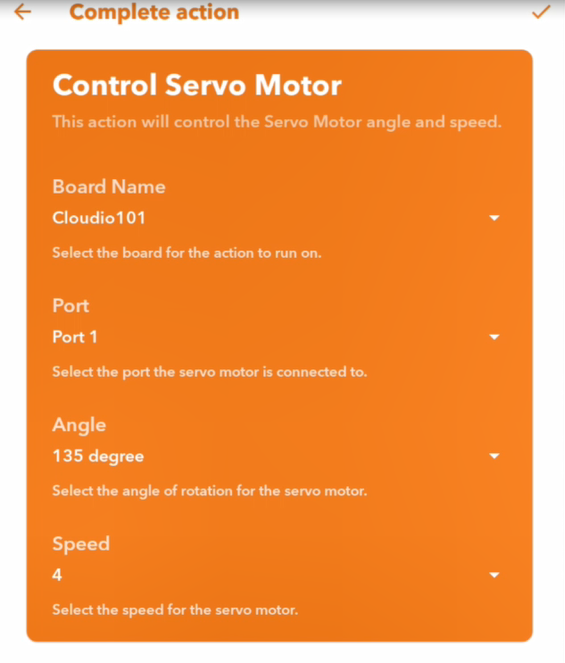
Select the board and the angle and speed by which the Servo motor should rotate for the locking action.
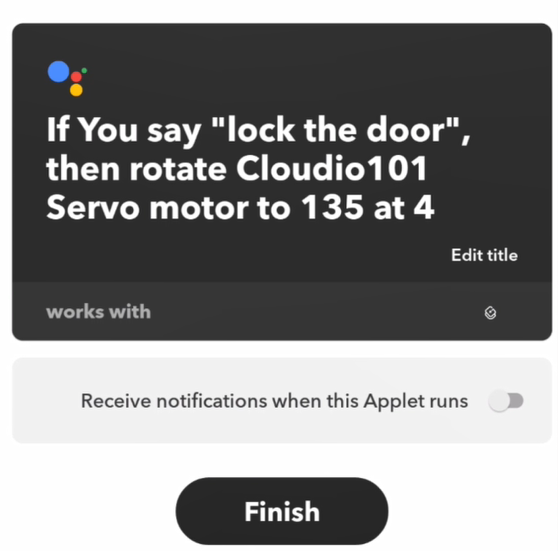
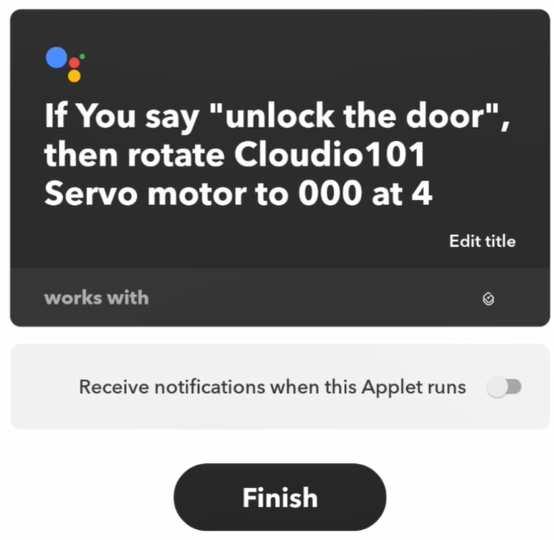
Your applet is now ready. Press Finish to run this applet.
Step 3: Creating the Google Assistant-GraspIO applet on IFTTT for the 'unlocking' action.
Follow the steps mentioned in Step 2 above to create a similar applet for the unlocking action.
In the 'this' (Trigger) section, modify the parameters for Google Assistant as shown below.
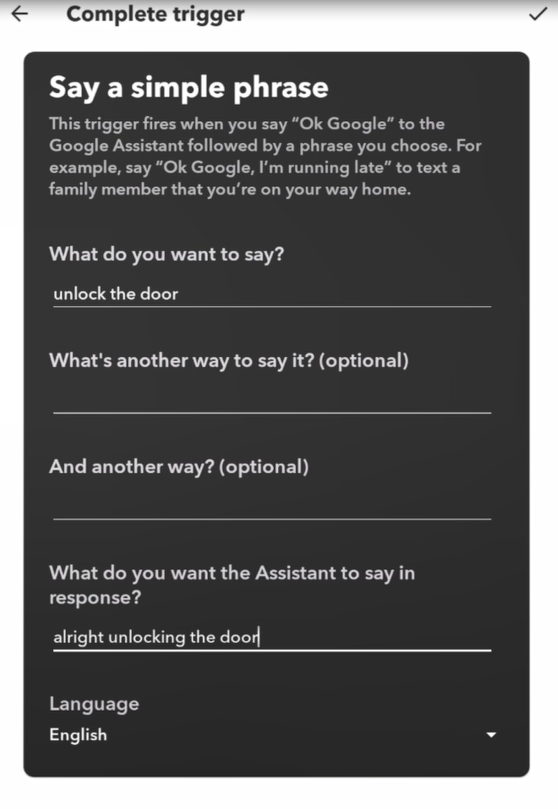
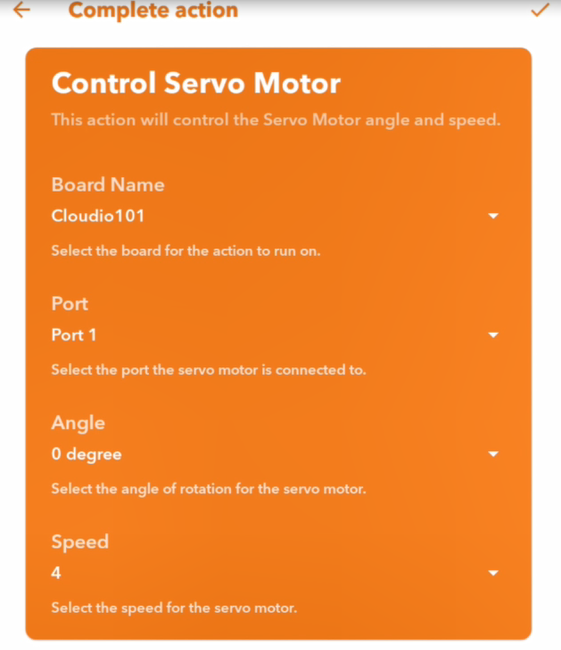
In the 'then' (Action) section, modify the parameters for GraspIO as shown below.
Your second applet is also now ready to use. Press Finish to run it.
Running the project
You now have 2 applets running - one to lock the door, and another to unlock it.
Use either of the commands with Google Assistant on your mobile device to remotely lock or unlock the door (connected to and controlled by Cloudio).
