Block description
This block uses the camera connected to Raspberry Pi to help you create images, GIFs, videos, and time-lapse videos.
It has 3 modes/types of operation
• Capture: To create Photos and GIFs
• Video: To create videos, with and without Pan option enabled.
• Time-lapse: To create videos with a maximum recording duration of 10 hours.
For both Video and Timelapse, the recording begins at the time the block is invoked.
The created images, GIFs, and videos are emailed to your registered email ID.
Note: Two successive emails sent by Cloudio contain a minimum delay of 15 minutes between them.
Hardware interface
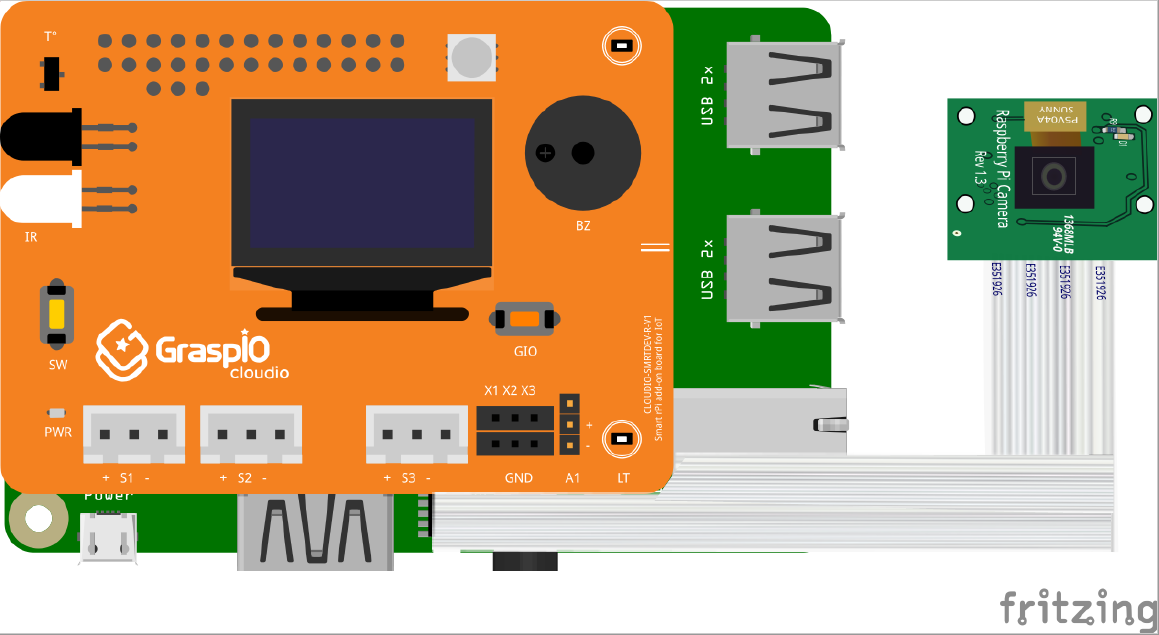
This block needs a Raspberry Pi camera or USB camera to be connected to Raspberry Pi.
Connecting a Raspberry Pi camera
Connecting a USB camera
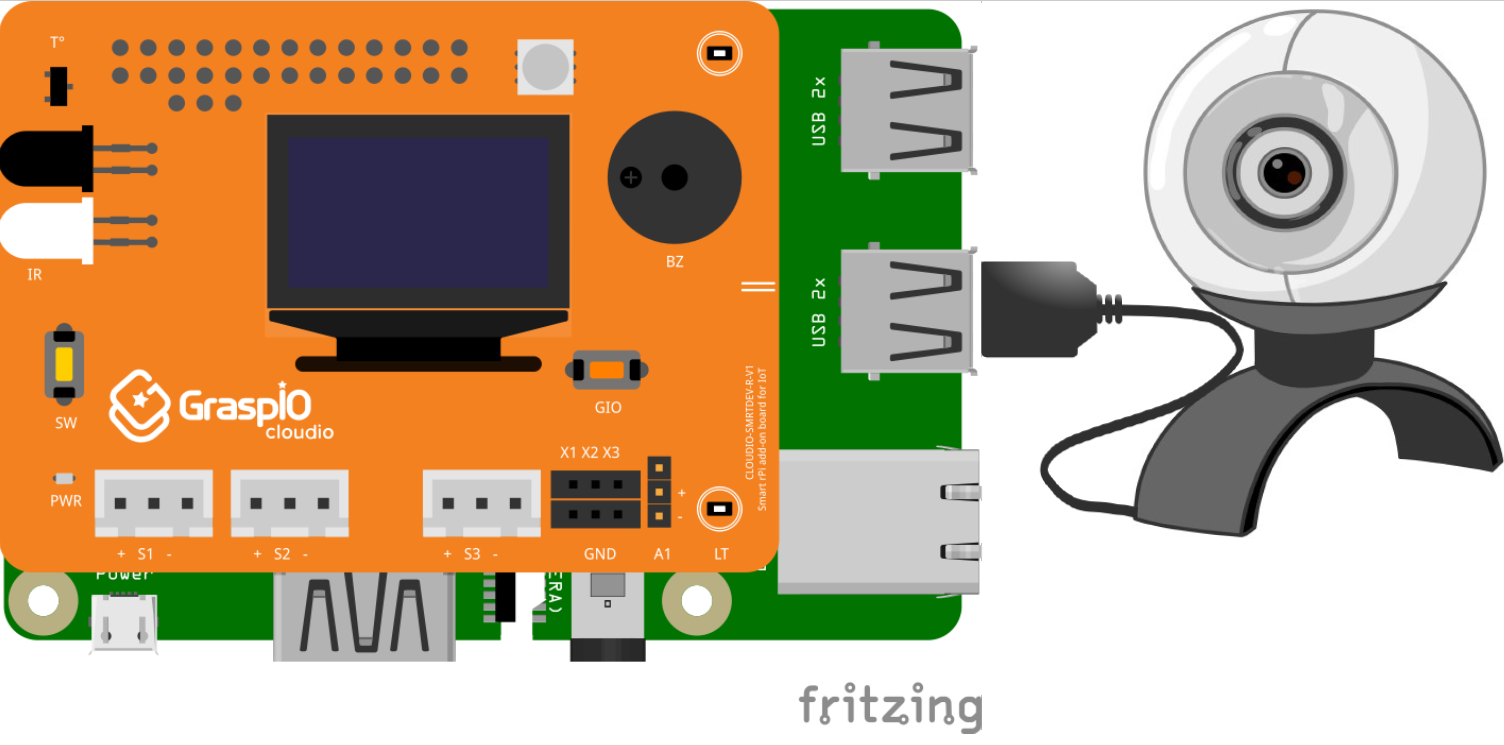
In case you're using a Raspberry Pi 0 or Raspberry Pi 0W, you would need to connect an OTG cable to Raspberry Pi in order to connect a USB camera.
App interface and usage
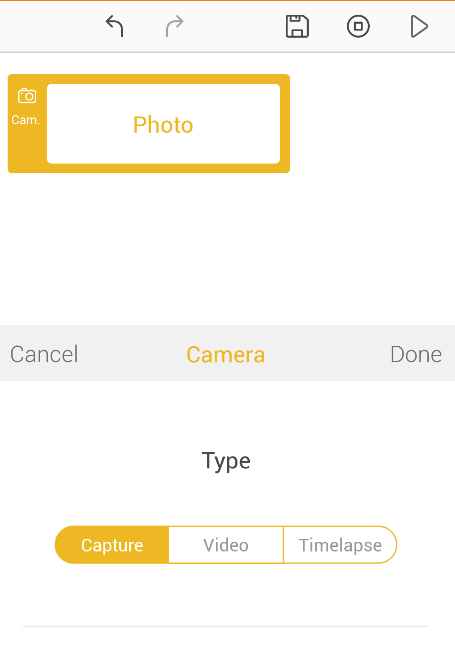
Type (Capture/Video/Timelapse):
Here, you can set the type of media to be captured by the Camera block – Capture (Photo/GIF), Video, or Timelapse video
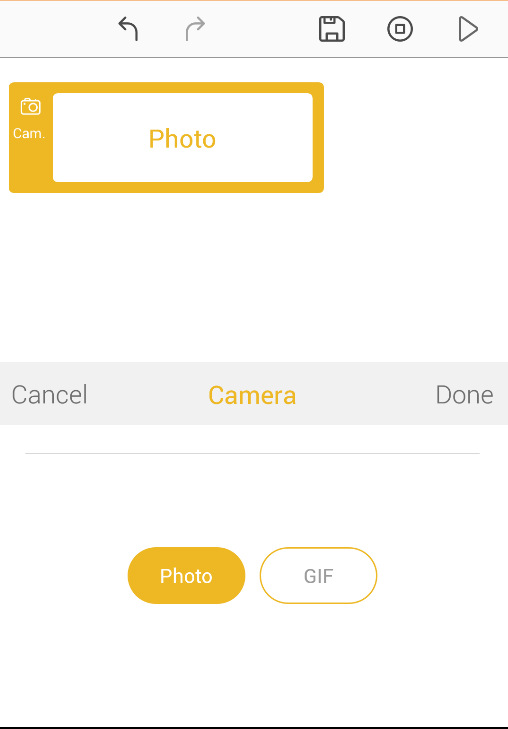
Capture:
Here, you can select the type of Capture – Photo or GIF.
Video:
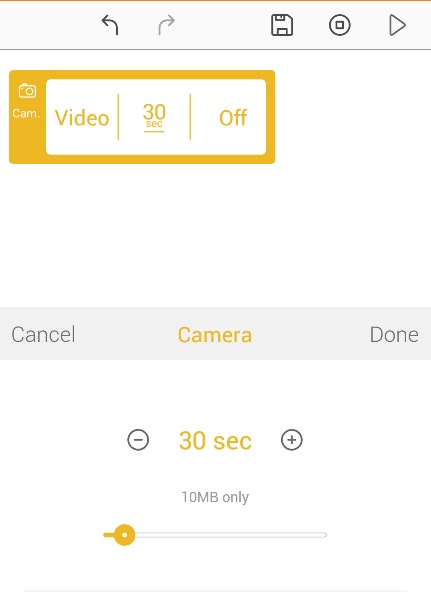
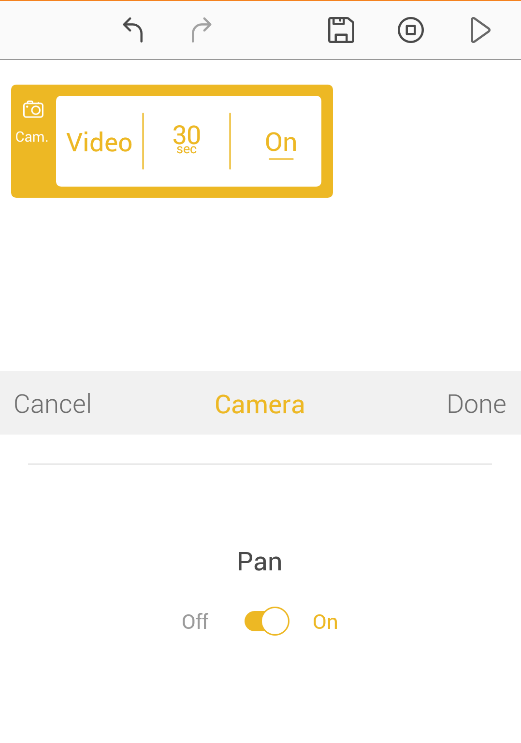
Here, you can create a video with or without the Pan option enabled for the camera.

After selecting Video, you can scroll down to
- Set the length of the video in multiple of 30 seconds in the range 30 seconds to 5 minutes
- The Pan status of the camera
Timelapse:
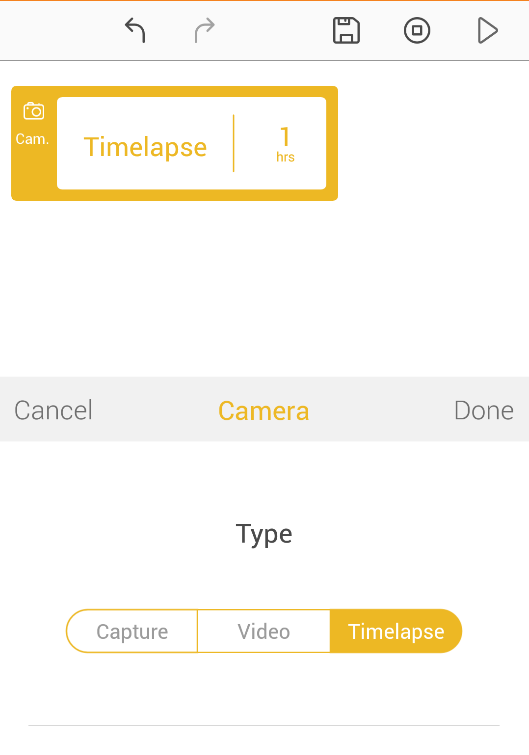
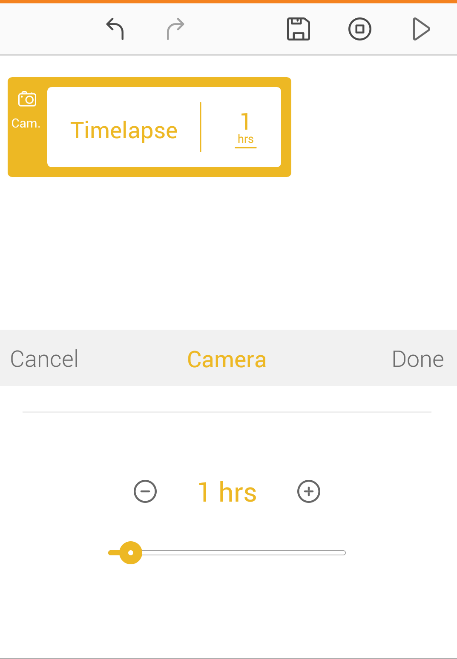
After selecting Timelapse, you can scroll down to
- Set the recording duration in the range 1 to 10 hours
Guidelines
- Every 1 hour of time-lapse recordings is reduced to 3 minutes of video.
- The captured media emailed to your registered email address.
- Since 2 successive emails sent by Cloudio contain a minimum 15 minute delay between them, please be sure to consider this while creating your projects, so as to not miss any board activity within 15 minute intervals.
- The image is captured, or the video is started at the time the block in invoked and the email is sent after the image or video is captured.
Therefore, the board continues to run the camera related code till the recording is completed.
If you upload another project to the board while the recording is in progress, the new project will overwrite and stop the currently running project and you will lose the data captured by the board.
Examples
Ex-Capture:
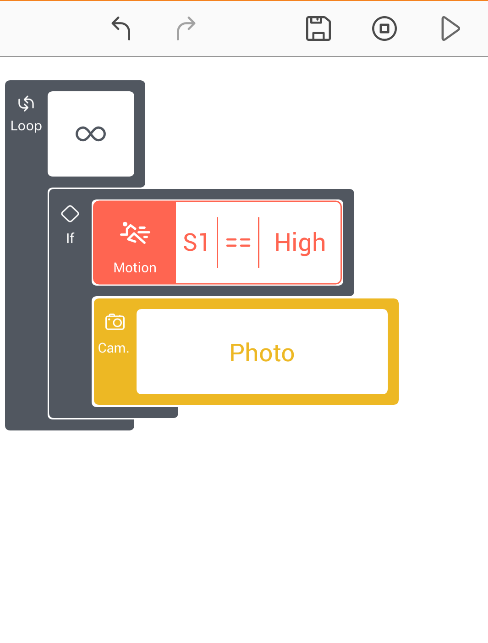
- This example project continuously monitors the Motion sensor connected to S1, and captures an image every time motion is detected. This image is then emailed to the registered email account.
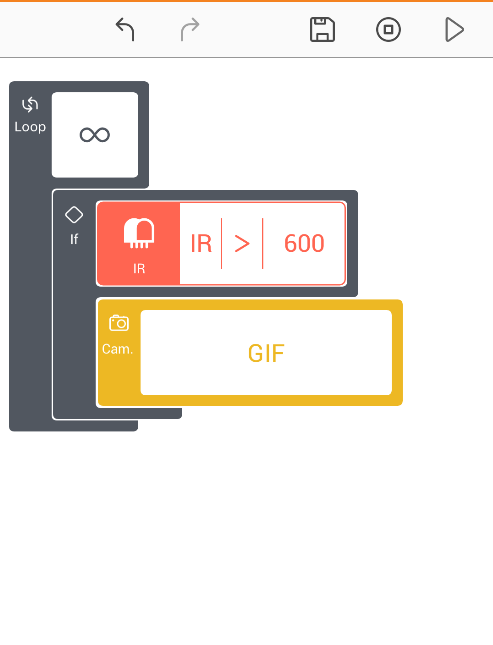
- This example project continuously monitors the on-board IR sensor connected to S1, and captures a GIF every time the value crosses 600. This image is then emailed to the registered email ID.
Ex-Video:
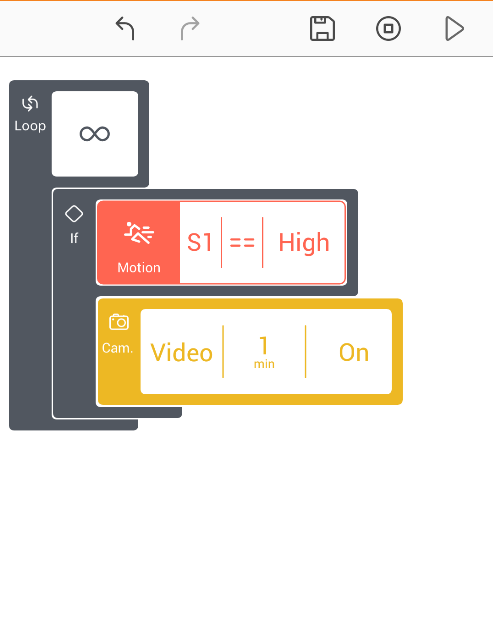
- This example project begins recording a 1-minute video with Pan option enabled whenever the Motion sensor connected to S1 detects any motion.
Ex-Timelapse:
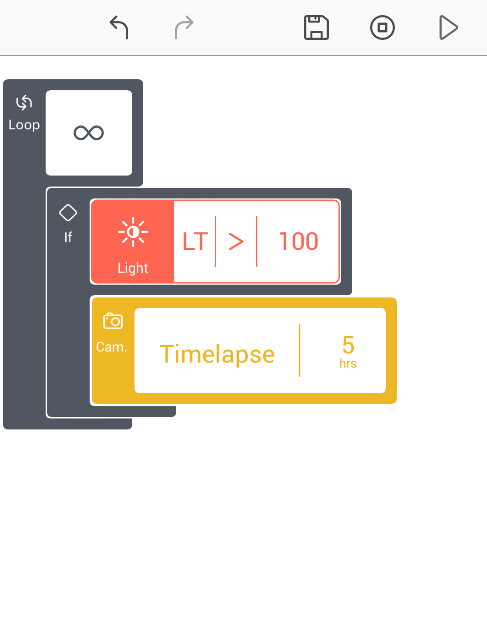
- This example project begins recording a 5 hour long time-lapse video when the reading of the on-board Light sensor crosses 100. At the end of the recording duration of 5 hours, a link to the video of length 15 minutes is emailed to the user’s account.
Note: The board is busy for the next 5 hours that the camera is recording the video.
