Block description
• This block lets you create projects where the sensors on the GraspIO board can be used as Triggers to be used while creating applets on IFTTT.
• Similarly, the board’s peripherals and saved projects can be used as Actions while creating applets on IFTTT.
Accounts on IFTTT
To create applets on IFTTT, you'll need to use (or create)
- IFTTT accounts for the services you intend to use on IFTTT. (ex- Amazon Alexa, Philips Hue, etc)
- IFTTT account for GraspIO
To log in to your GraspIO account,you will need the password associated with your GraspIO Studio account.
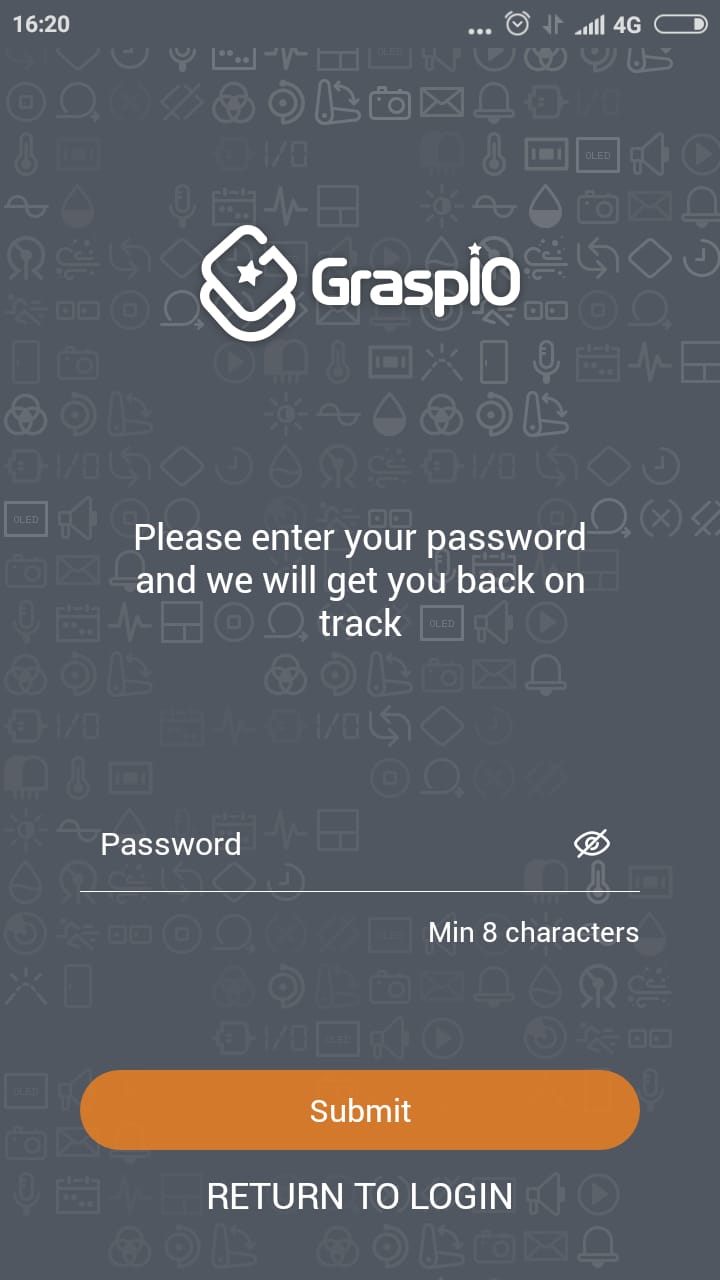
In case you have created your GraspIO account on GraspIO Studio using your social accounts (Facebook or Gmail), (and thus, don't have a password specific to GraspIO), you will need to set a new password for your GraspIO account.
The steps for this are as shown below -
- Log out of GraspIO Studio.
- Select 'Connect with email' on the home screen.
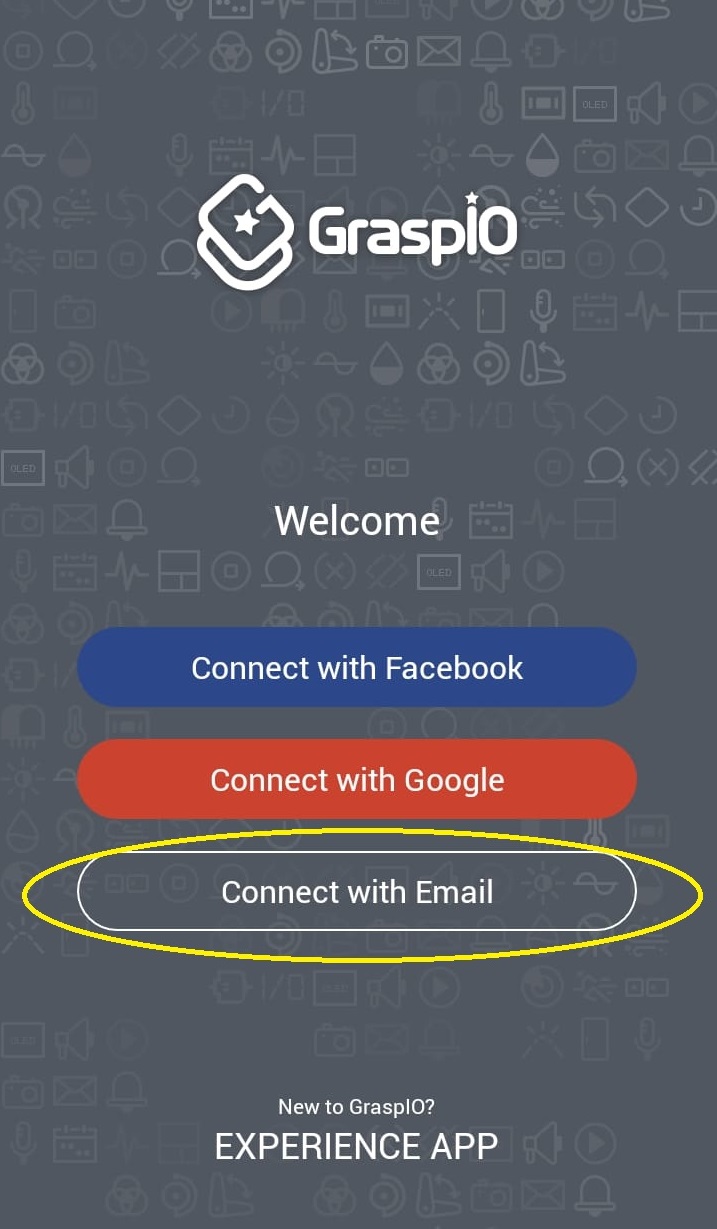
- Select the 'Log in now' option as shown below.

- Select the 'Forgot password' option.
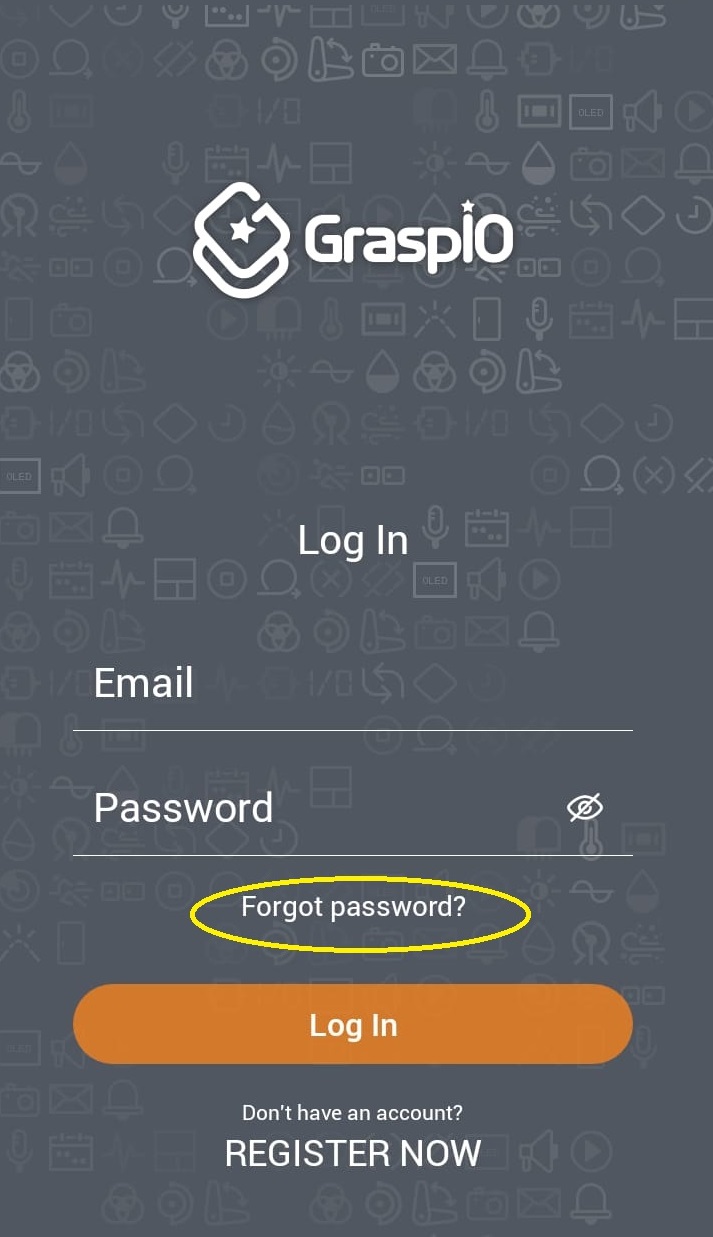
- Enter your registered email ID where you will receive an authentication OTP.
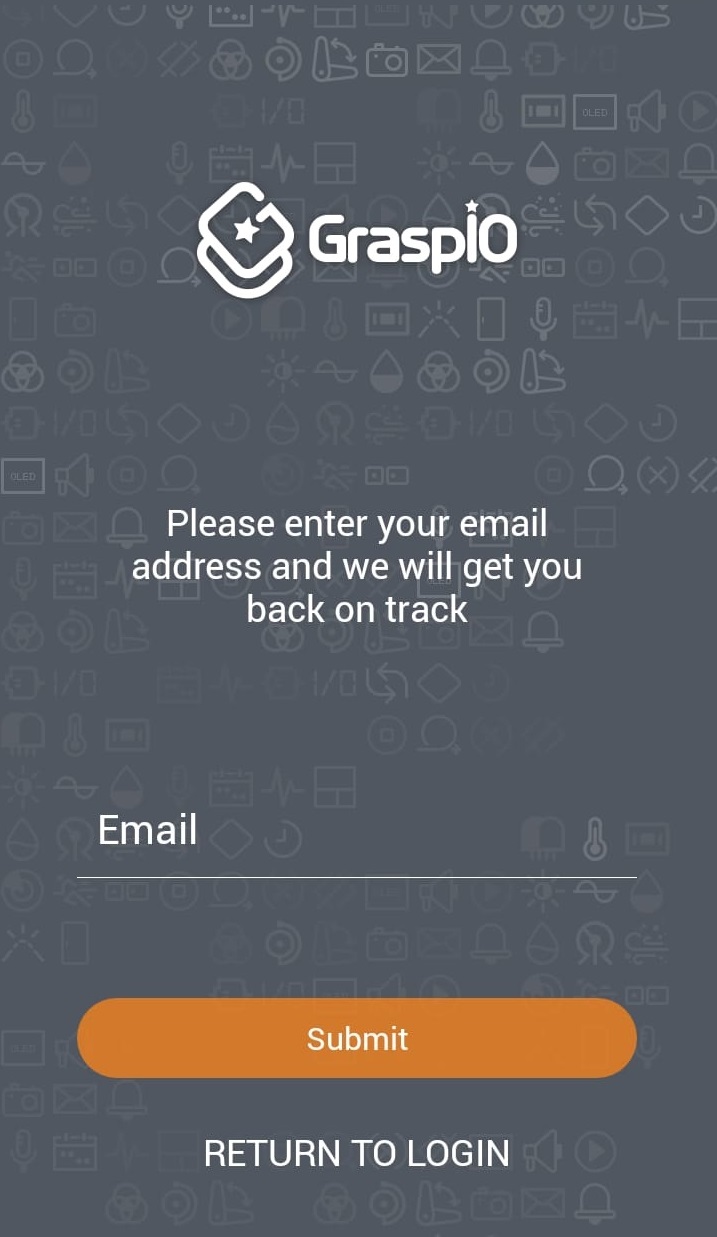
- Enter the OTP received on your email.
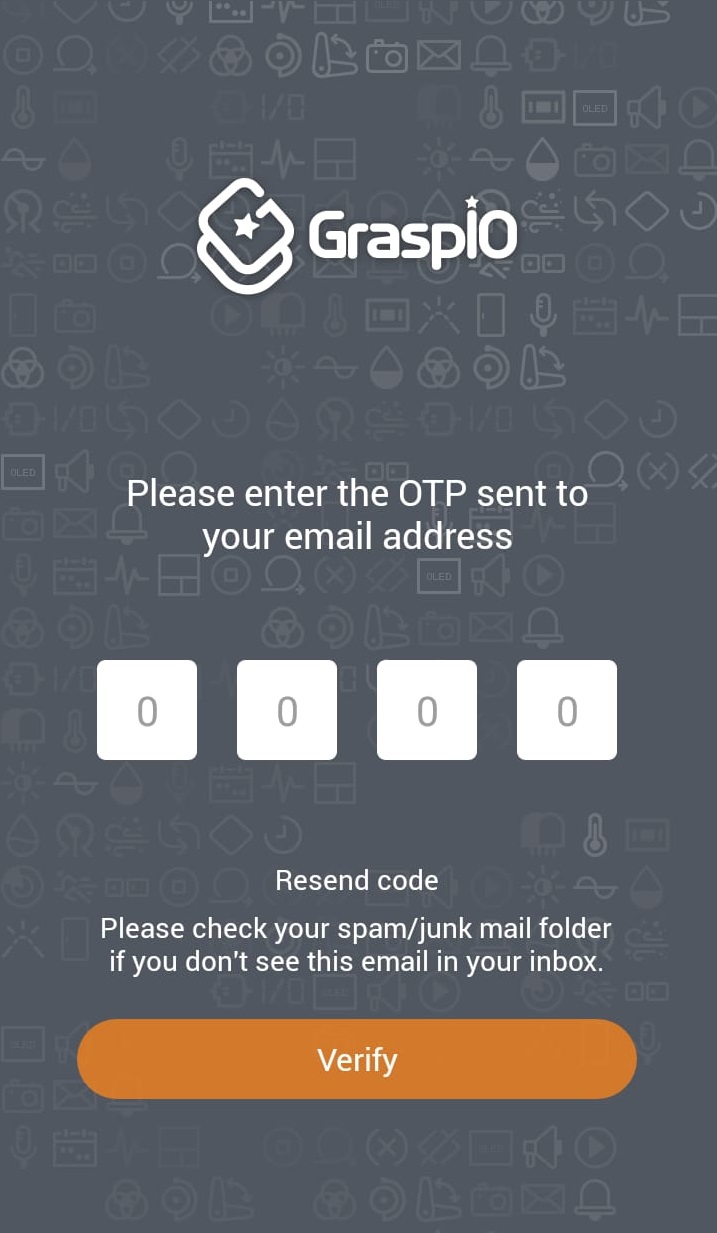
- Proceed to set a new password.
App interface and usage
Mode of operation
A project can use the board in either one of two states – Trigger and Action.

The default mode of operation selected is Trigger.
Operation in Trigger mode
In this mode, trigger(s) can be created using the on-board and external sensors and their values.
Here, you can select the number of sensors to be monitored for the trigger.

A maximum of 3 sensors can be used as triggers.
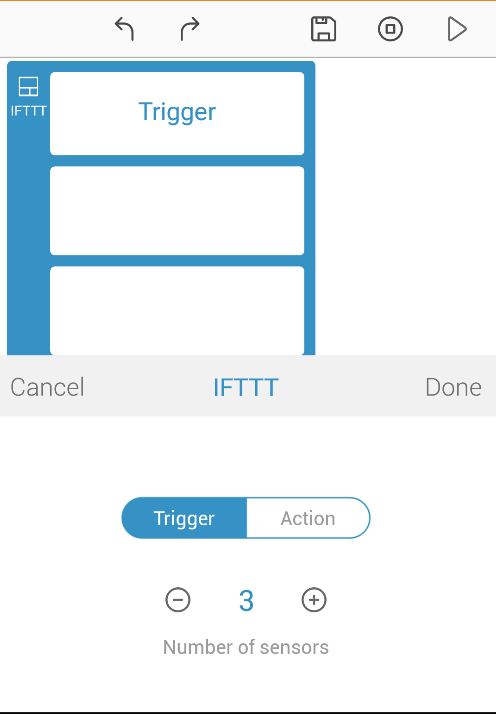
After the number of sensors used as triggers is set, the input blocks must be dragged inside the block, and their parameters (operator, port, comparison value) set.
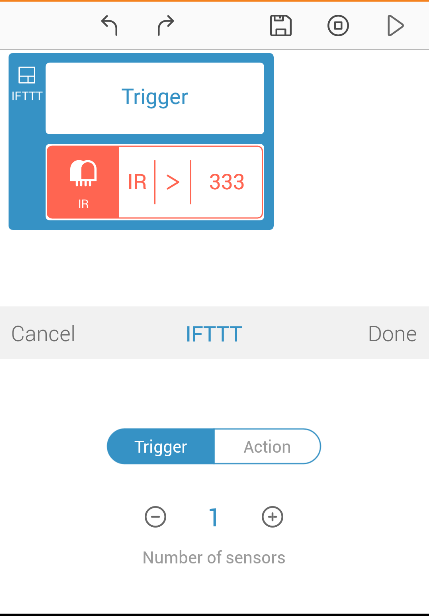
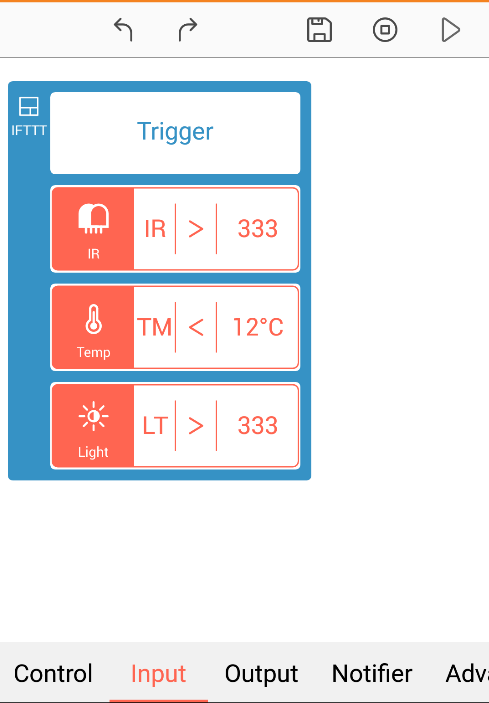
Example: IFTTT block used as Trigger with 3 sensors being used as triggers with different trigger values. Any one of these can be used as a trigger in the IFTTT applet that you would create on IFTTT.
Operation in Action mode
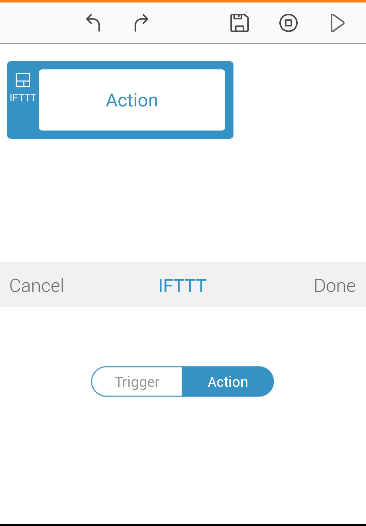
In this mode, once the block is set to Action, it is invoked by IFTTT in response to the trigger created in the applet.
No further action is required on the app.
Guidelines
- After the board is configured as an Action or Trigger, you would need to create an applet on IFTTT that uses this Action/Trigger.
- One applet cannot use the same board as a Trigger and as an Action at the same time.
- When an IFTTT project is uploaded to the board, the board stays in a wait state either till the
- Trigger is fired on the board, or
- Action is run on the board externally by IFTTT
Steps to create an IFTTT applet that uses GraspIO
Using GraspIO as Trigger (If THIS)
Step 1: GraspIO Studio
-
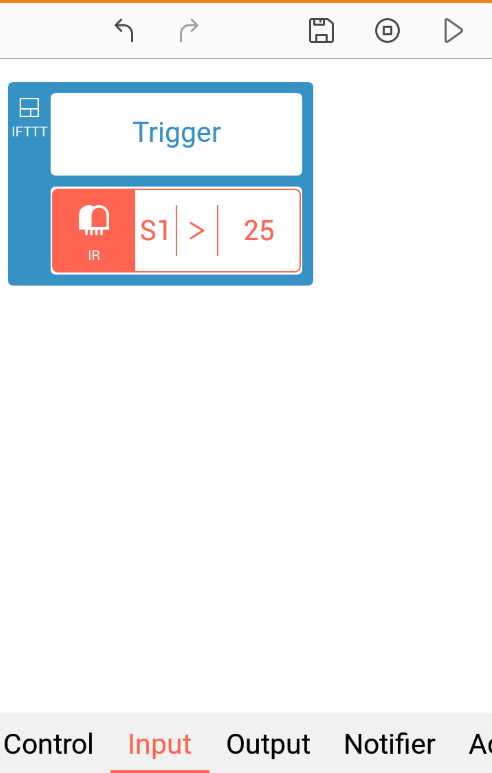
Create the trigger on GraspIO. In this example, the trigger is set to be fired when the value of the analog IR sensor connected to S1 is greater than 25.
-
Upload the code to your board named ‘Myboard’ in this example.
Step 2: IFTTTT
-
For the This (Trigger) section, select GraspIO.

-
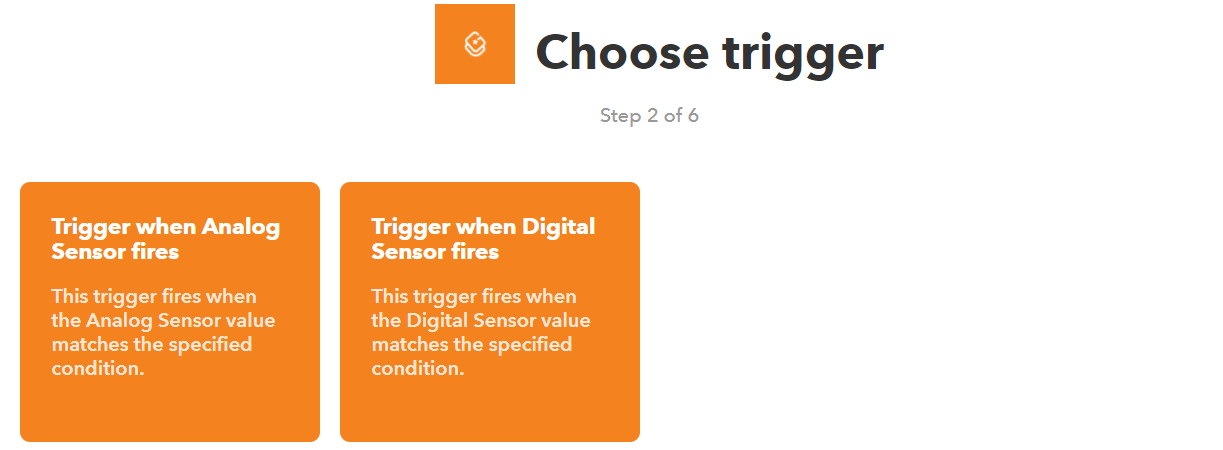
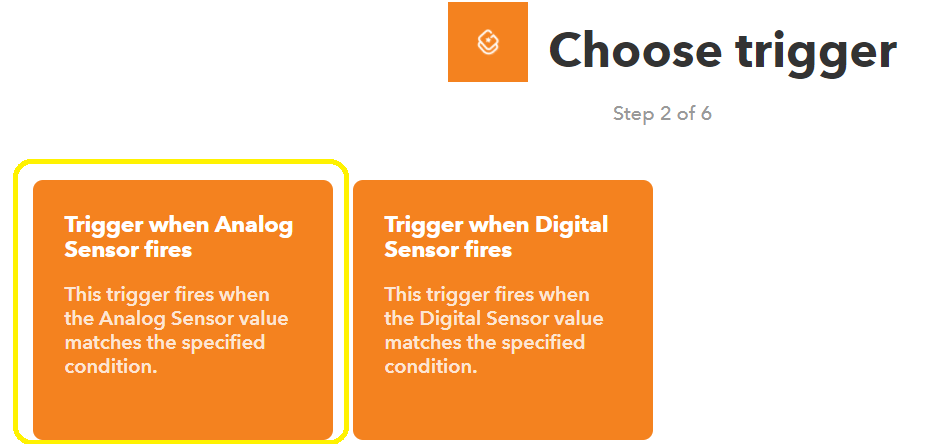
Choose the trigger type. (Select Trigger on Analog sensors as analog sensor is being monitored on the board)
-
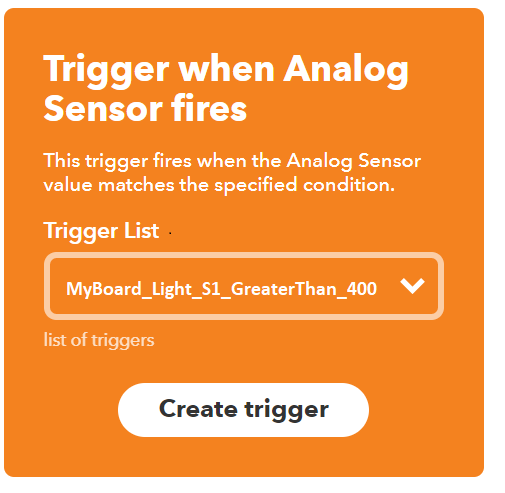
Select the trigger fields
(This list displays the triggers you created in your project)

(The selection corresponds to the trigger created on GraspIO Studio for board ‘MyBoard’ for the IR sensor connected to port S1 with the trigger condition Greater than 25) -
After the trigger is set, the Action needs to be set. You can use any of the generic services on IFTTT or Action on another GraspIO board.
Using GraspIO as Action (then THAT)
Step 1: On GraspIO Studio
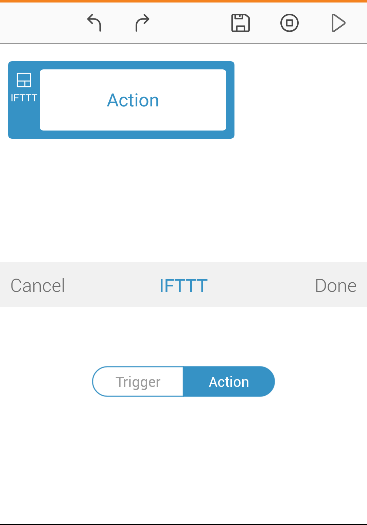
Here, you can drag abd drop an IFTTT block in Action mode and upload the project.
No other action is to be taken on the app side.
Step 2: On IFTTTT
After selecting the GraspIO service, you can proceed to select the Action.

Here, you can select from the list of available actions.
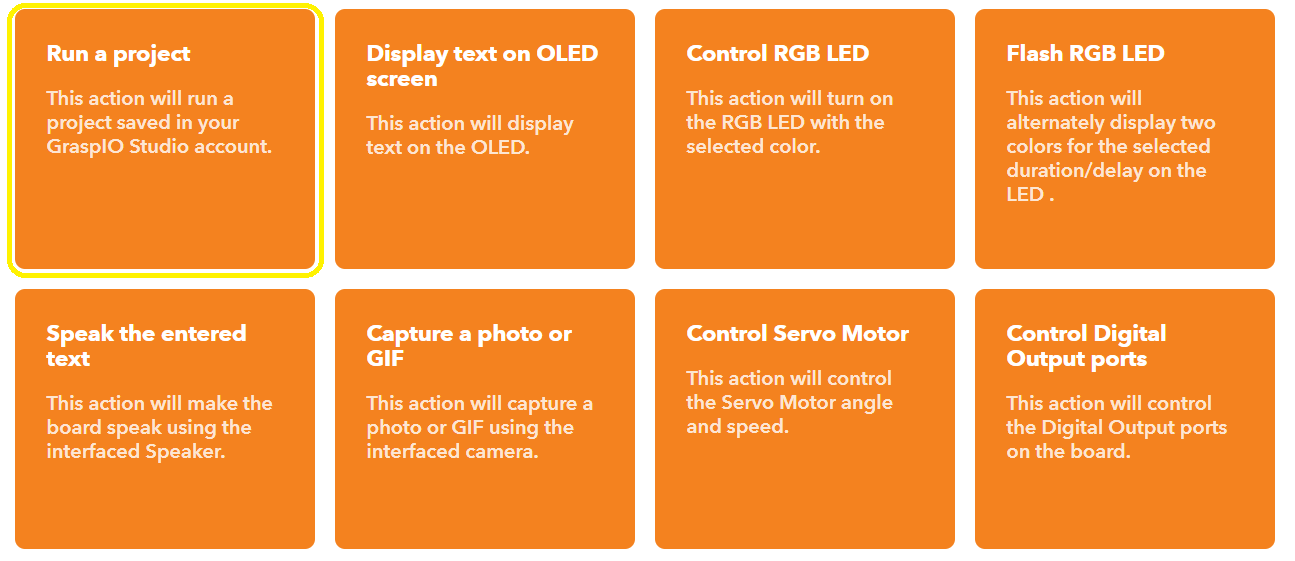
These actions let you –
- run projects saved in your account
- execute actions on the output peripherals connected to or on the board
Each action is described below.
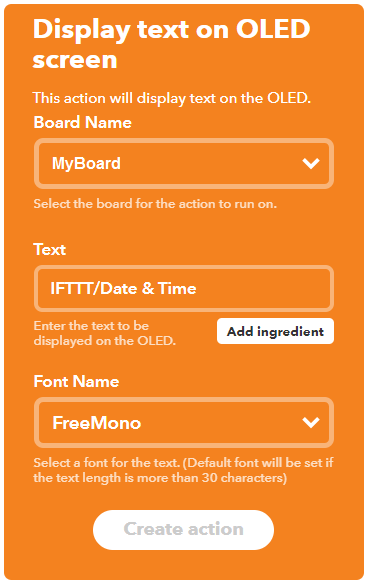
Display text on OLED screen
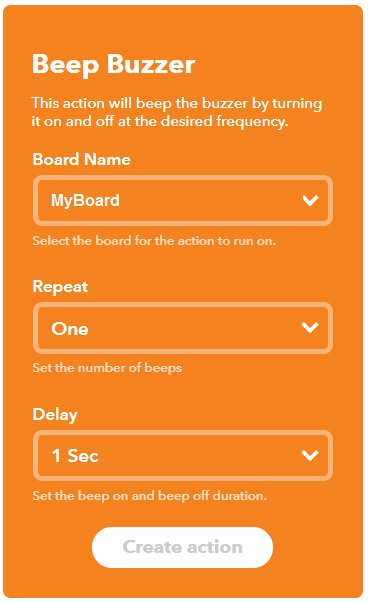
Beep Buzzer
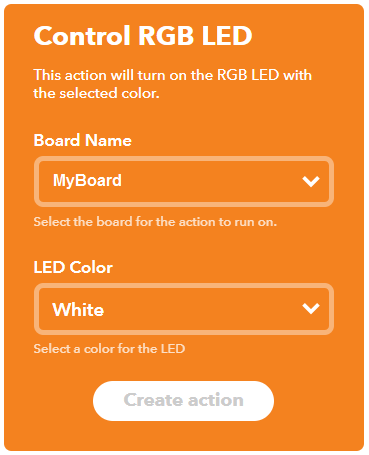
Control RGB LED
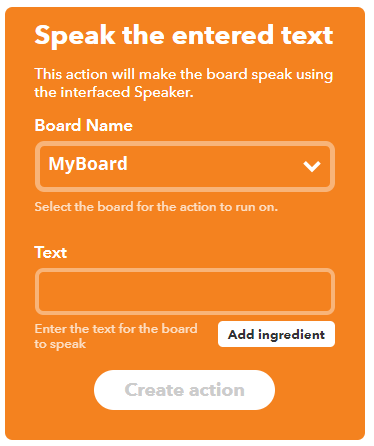
Speak the entered text
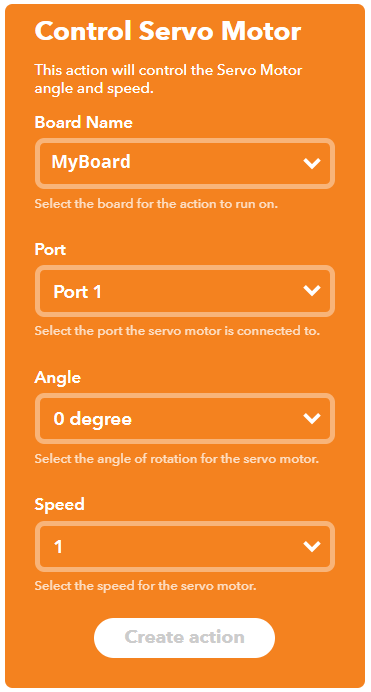
Control Servo Motor
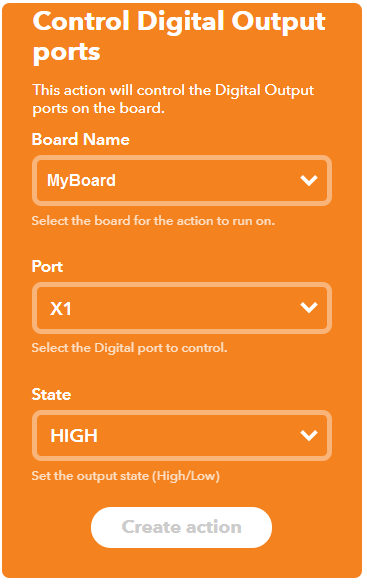
Control Digital Output ports
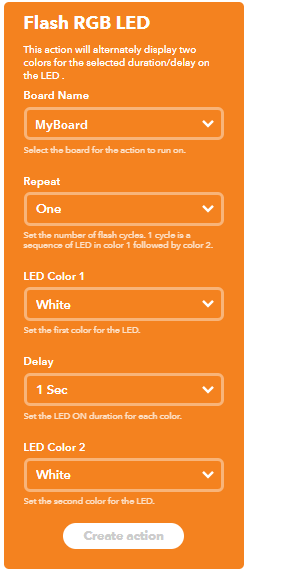
Flash RGB LED
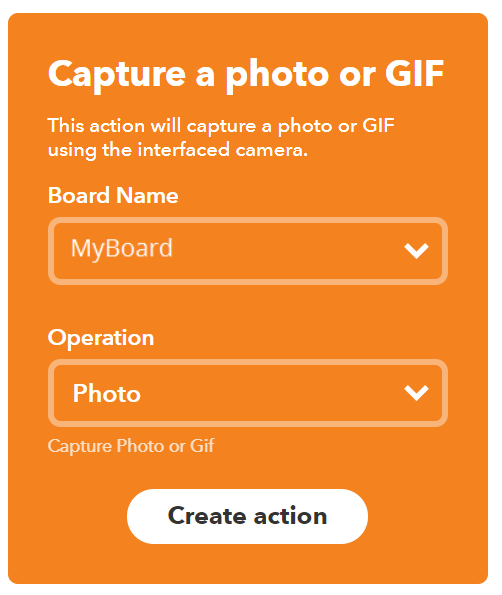
Capture a photo/GIF
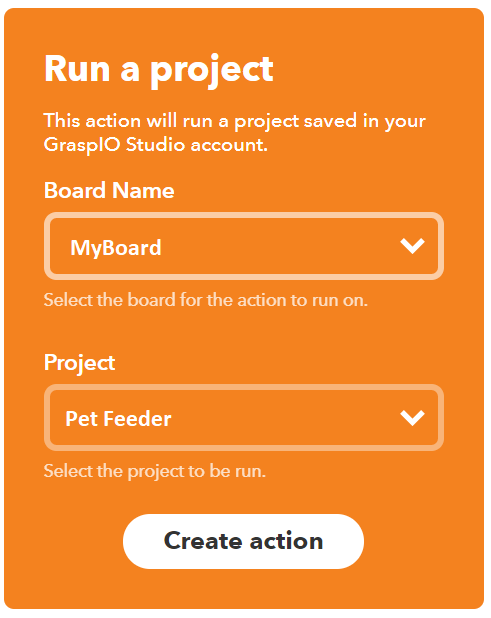
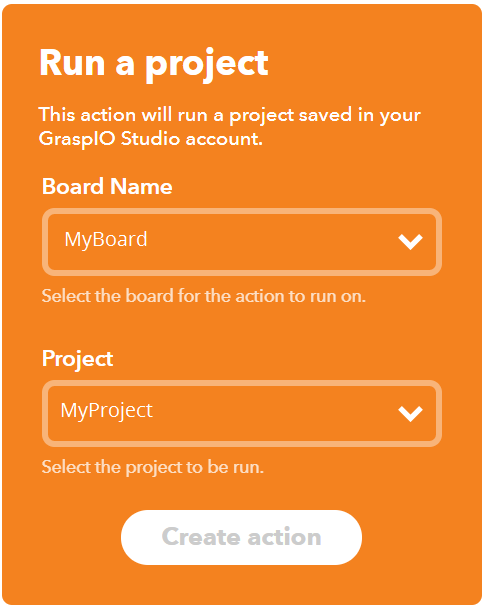
Run a project
Examples
- Creating an applet using Cloudio as a Trigger

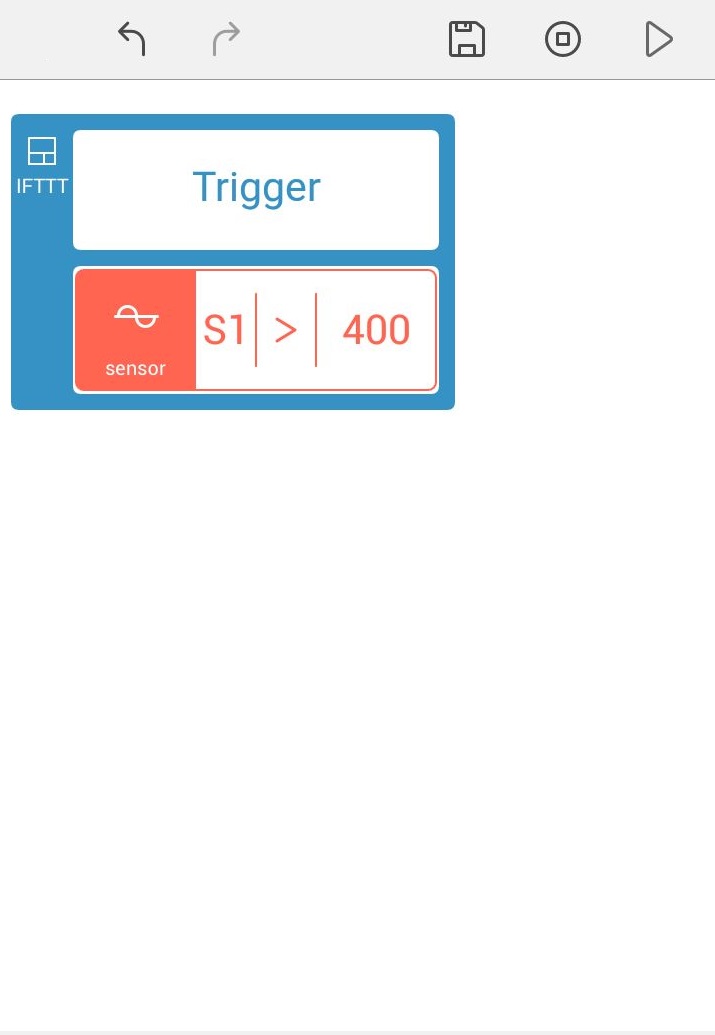
Trigger: Value of Light sensor connected to port S1 crosses 400 on Cloudio
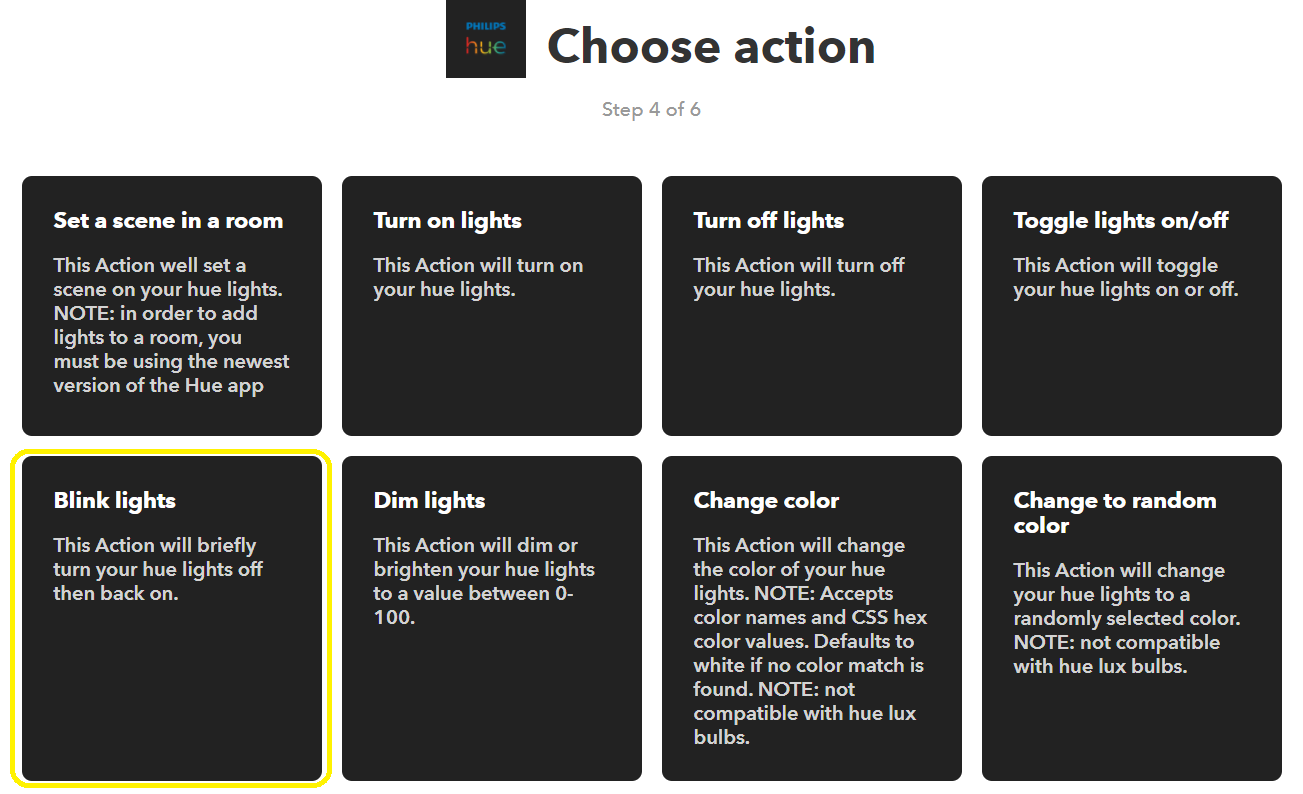
Action: Blink Hue lights
Step 1: Configure Cloudio as a Trigger and upload the project to the board
Step 2: Create the applet on IFTTT by
Selecting this Trigger from the GraspIO service on IFTTT and selecting the trigger.
Selecting Hue action from Hue service on IFTTT
- Creating an applet using Cloudio as an Action

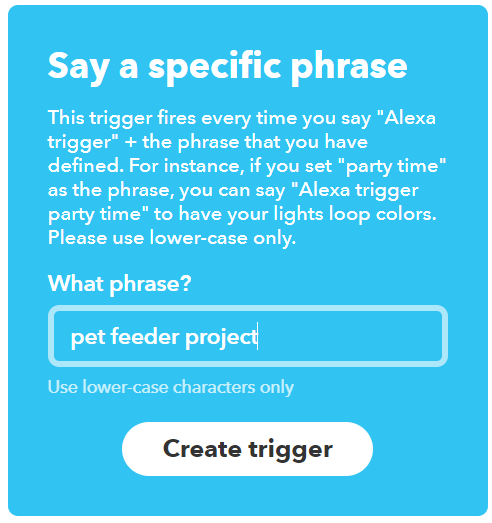
Trigger: You say 'Alexa trigger pet feeder project'
Action: Pet Feeder project runs on Cloudio
Step 1: Configure Cloudio as an Action and upload the project to the board

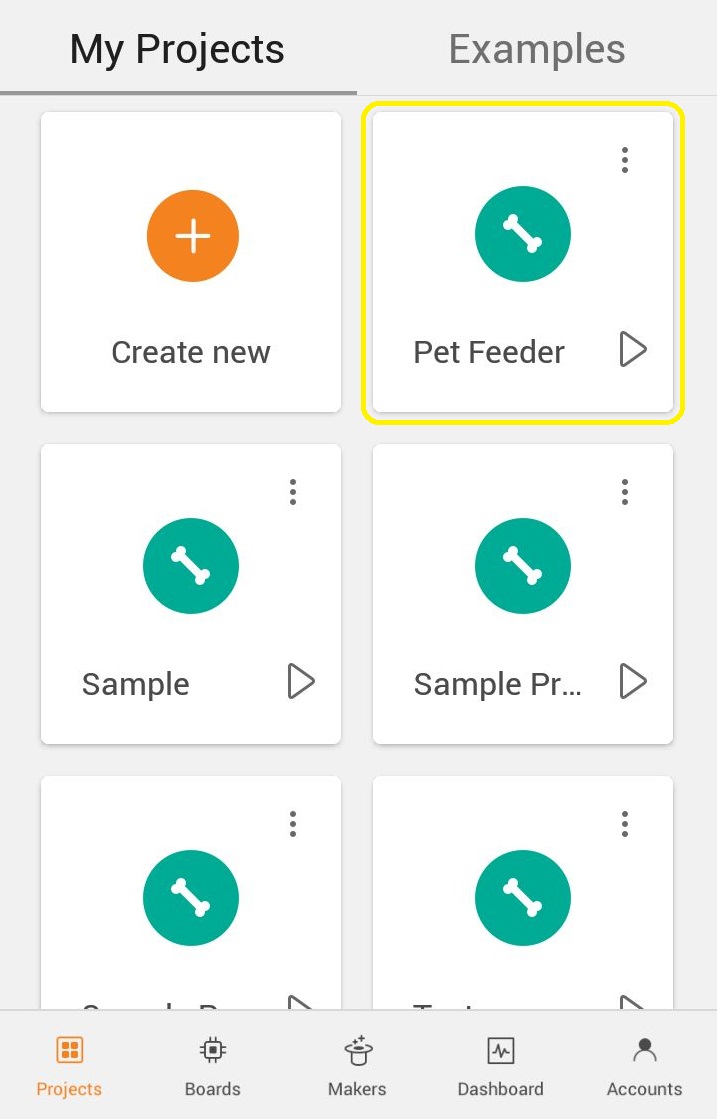
Note: Make sure you have a project titled Pet Feeder saved in your account.
Step 2: Create the applet on IFTTT by
Selecting Trigger from the Alexa service on IFTTT

Selecting Action from the GraspIO service on IFTTT

